How Is Panaspacer Applied?
You can easily apply Panaspacer by following the steps below, without the need for a professional team.


1. The glass is fixed on the vacuum section of the preparation table. The spacer is applied around the fixed glass using the application tool.
2. The applied spacer is cut perpendicular to the glass from the joining point.

3. The applied glass is aligned with the help of the sizing guides located at the corner of the table, and the second glass is placed.
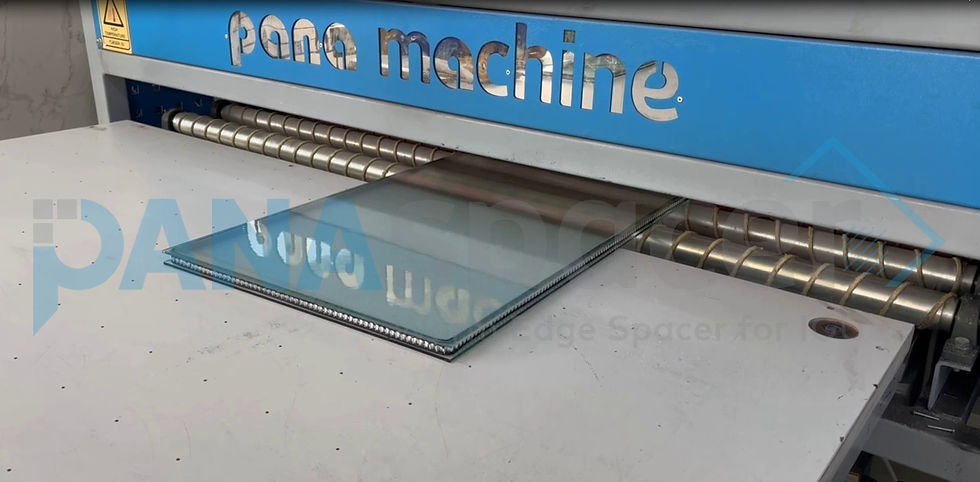
4. The prepared double glazing unit is sent into the hot press machine and automatically passes through the line in a short time.

5. When the glass reaches the exit table, the corner joining point is heated with a hot air gun and closed with the help of a finishing stick.
The prepared double glazing unit is ready for use. With this method, you can also apply triple or quadruple glazing units.
Points to Consider When Applying Panaspacer
Temel unsur temiz ve kapalı alan oluşturulmalıdır.
Spacer montaj aparatı spacera hafif baskı yapacak şekilde ayarlanmalıdır.
Spacer cam kenarından 2-3 mm içerden yapıştırılmalıdır.
Spacer dik bir şekilde 90 ̊ yapıştırmalı, yatık durmamalı.
Spacer mühürlemenin düzgün olması için bitiş noktasında düz kesilmelidir.
Spacer bitiş noktası camdan uzun değil tam sıfırdan kesilmelidir.
Spacer birinci cama yapıştırıldıktan sonra masa üzerindeki hizalama pimleri kaldırılmalı, ikinci camı işleme kesinlikle 90 ̊C pimler yardımıyla yapılmalı.
Düzgün işlenmiş cam pres makinasına çapraz yani sivri köşesi öne gelecek şekilde verilmeli
Camın presten çıktığında yüzey sıcaklığı 45 ̊C ile 50 ̊C arasında olmalıdır.
Bu sıcaklıklara göre konveyör hızı ayarlanmalıdır. Bu detay çok önemlidir.
Mühürlenen kısım elle sıkı bir şekilde bastırılmalı ve kontrol edilmelidir
Düzgün işlenmiş cam pres makinasına çapraz yani sivri köşesi öne gelecek şekilde verilmeli
The basic requirement is to create a clean and enclosed working area.
The spacer installation device should be adjusted to apply light pressure to the spacer.
The spacer should be bonded 2–3 mm inside from the edge of the glass.
The spacer should be applied vertically at a 90° angle and should not be tilted.
For proper sealing, the spacer should be cut straight at the end point.
The end point of the spacer should not be longer than the glass; it should be cut exactly flush.
After the spacer is bonded to the first glass, the alignment pins on the table should be raised, and the second glass must be placed using the 90° pins.
The properly processed glass should be fed into the press machine diagonally, with the pointed corner facing forward.
When the glass comes out of the press, its surface temperature should be between 45°C and 50°C.
The conveyor speed should be adjusted according to these temperatures. This detail is very important.
After leaving the press, the glass should be pressed evenly towards the spacer from the opposite side with the help of a Teflon piece.
The sealed area should be pressed firmly by hand and checked.
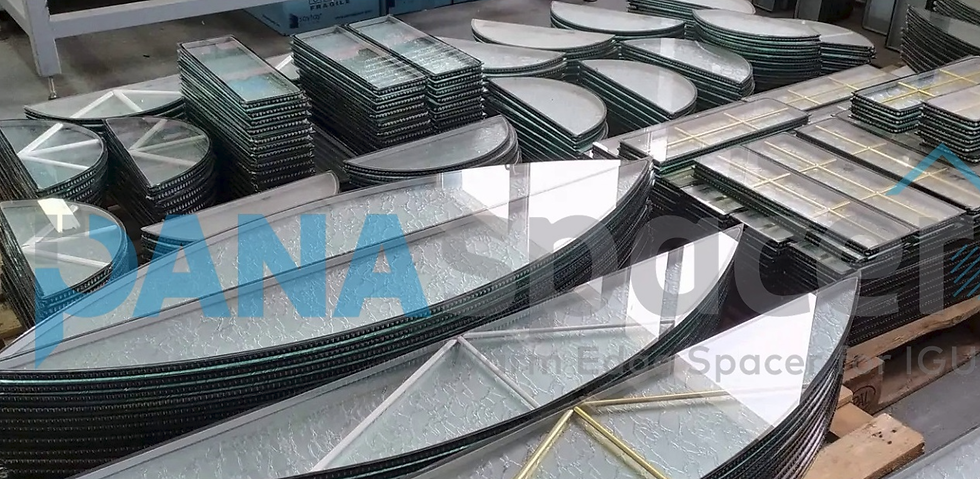
The double glazing units coming out of the press should be stored on 90° angled racks, and this should also be considered during transportation.
During window installation, the sealed corner should be positioned at the top.
At the end of the day, any unfinished spacer should be placed back into its aluminum foil packaging and sealed with tape.
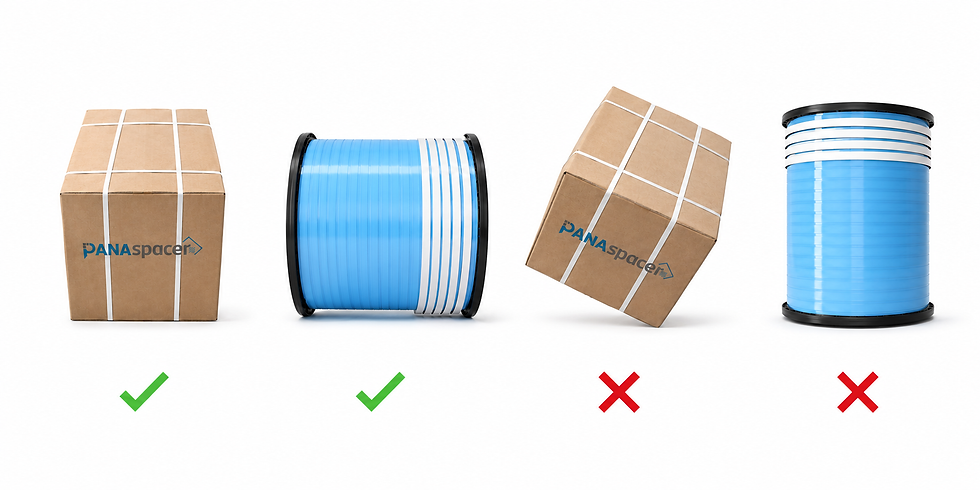
Spacer boxes must never be laid on their side. Please pay attention to the markings and warnings on the box.
-
The shelf life of the spacer is 2 years, provided it is stored under suitable conditions.
Panaspacer Warm Edge Spacer Solutions